


Spin pins (also called spiral pins or screw pins) are one of the best-kept secrets in hairstyling. These corkscrew-shaped pins can hold an entire updo with just 2-3 pins — no bobby pin avalanche required.
If you’ve struggled with updos that fall apart or hate dealing with dozens of bobby pins, spin pins will change your life. Here are 10 hairstyles you can create with them.
Updated for 2026 with detailed techniques.
What Are Spin Pins?
Spin pins are corkscrew-shaped hair pins that twist into your hair rather than sliding in like traditional bobby pins. They grip hair from multiple angles, providing much stronger hold with fewer pins.
Best for:
- Fine hair that won’t hold bobby pins
- Thick hair that needs serious grip
- Anyone who wants faster, more secure updos
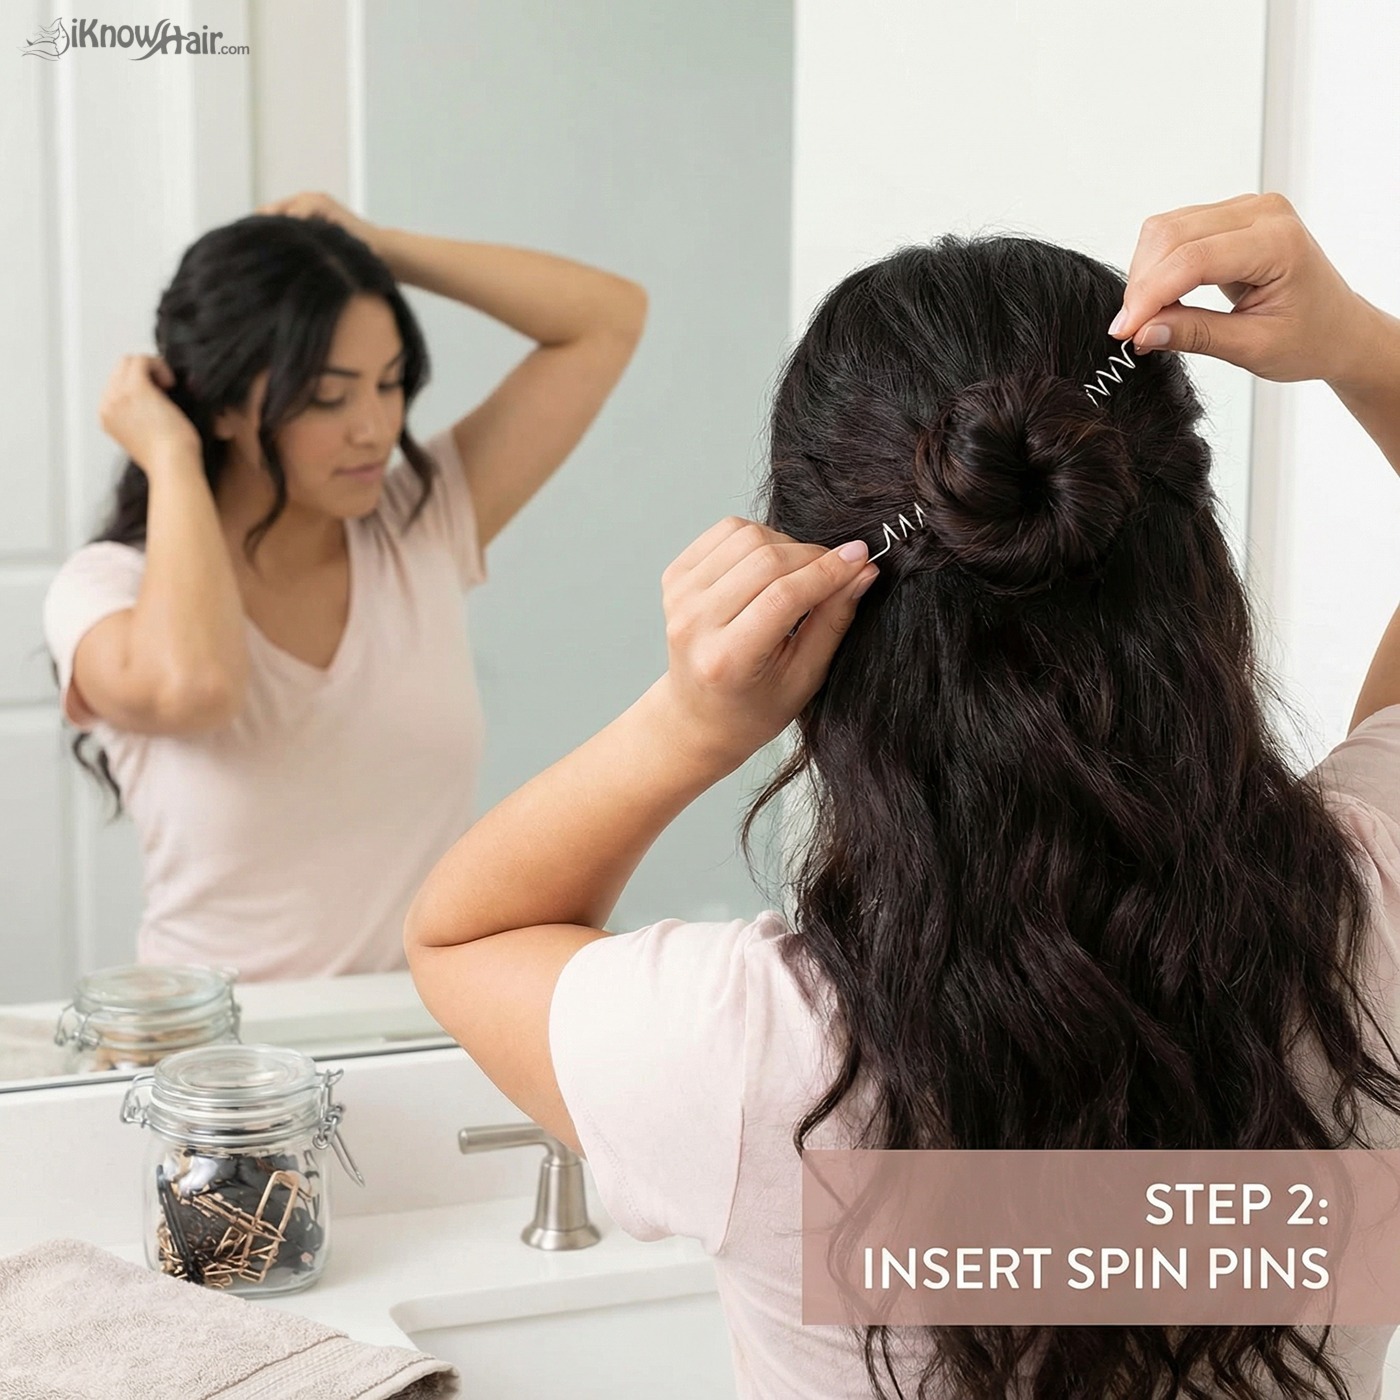
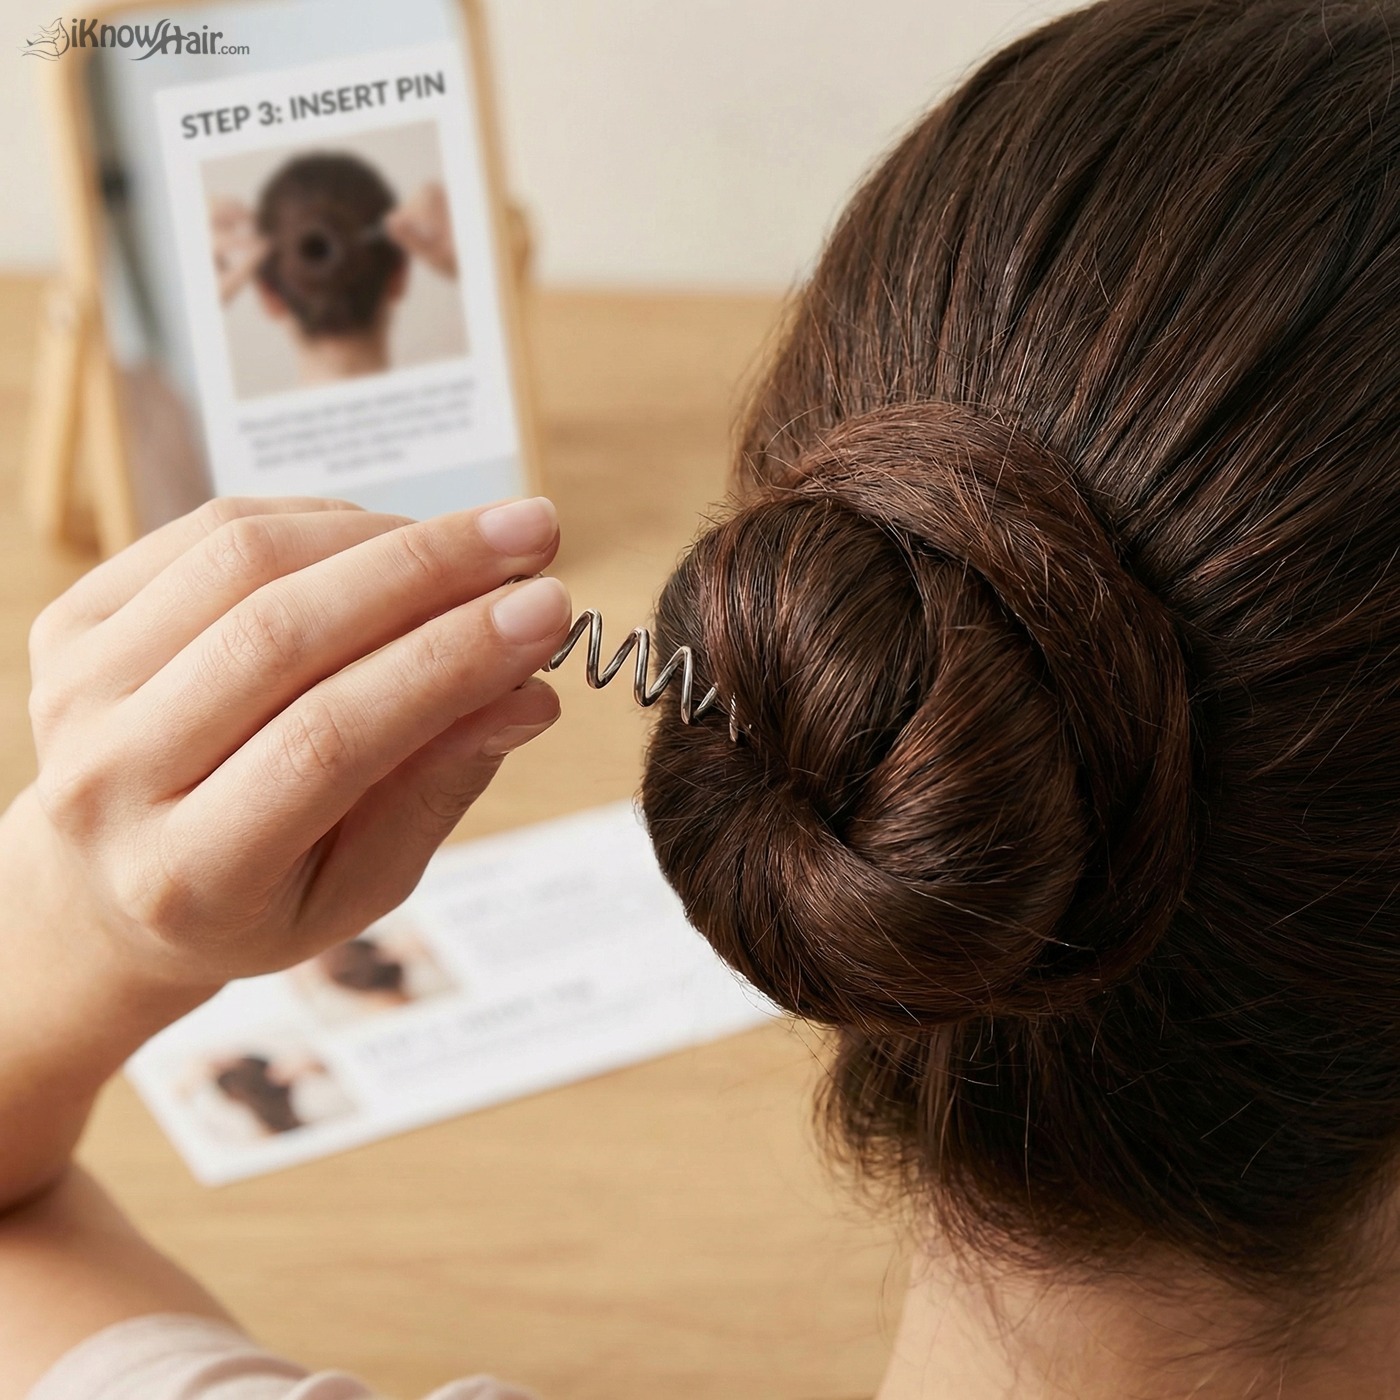
How to use them: Position the pin at the edge of your style, then twist it in a circular motion while pushing gently into the hair. The spiral shape grabs hair as it goes.
10 Spin Pin Hairstyles
1. Classic Bun
- Create a ponytail at your desired height
- Twist the length into a rope
- Coil around the base
- Insert 2-3 spin pins at angles around the bun, twisting into the base
Pins needed: 2-3
2. Messy Bun
- Gather hair loosely (no ponytail elastic needed)
- Twist and coil into a loose bun
- Insert spin pins to secure, leaving some pieces loose intentionally
Pins needed: 2-3
3. French Twist
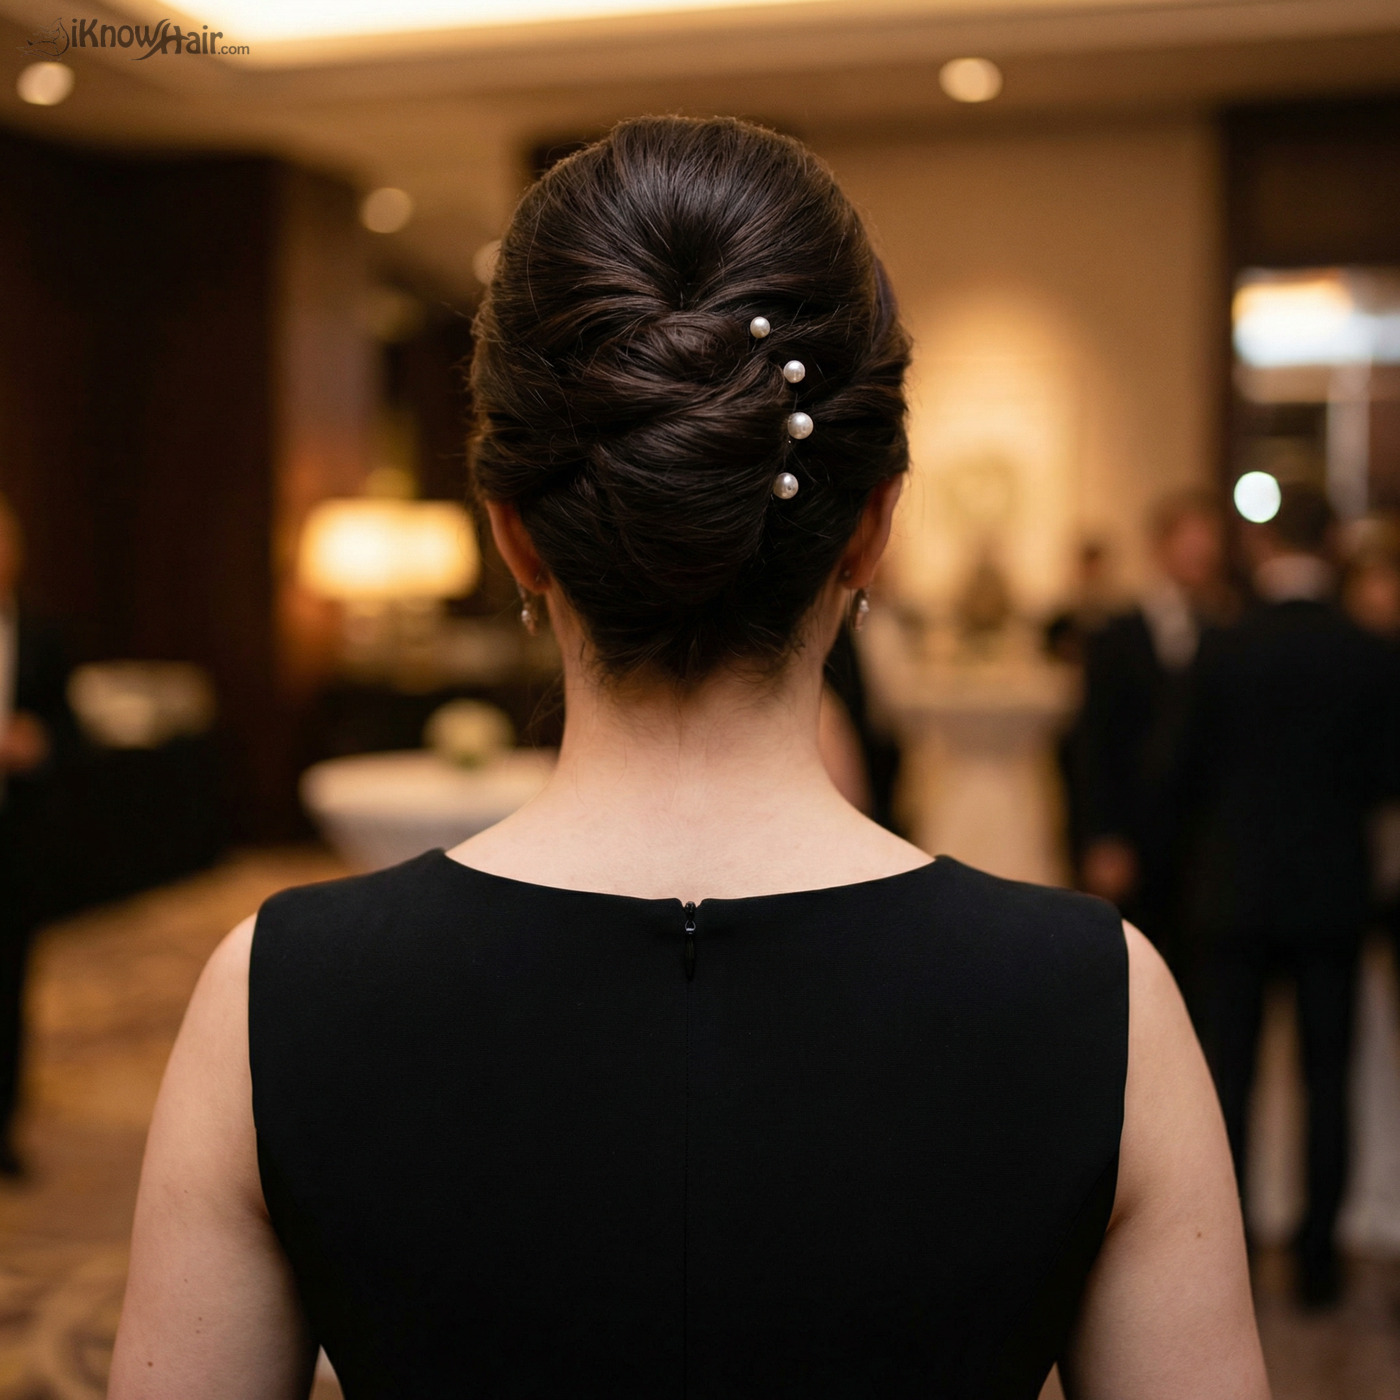
- Sweep hair to one side
- Twist upward along the back of your head
- Tuck the ends into the twist
- Insert spin pins vertically along the twist
Pins needed: 3-4
4. Low Chignon
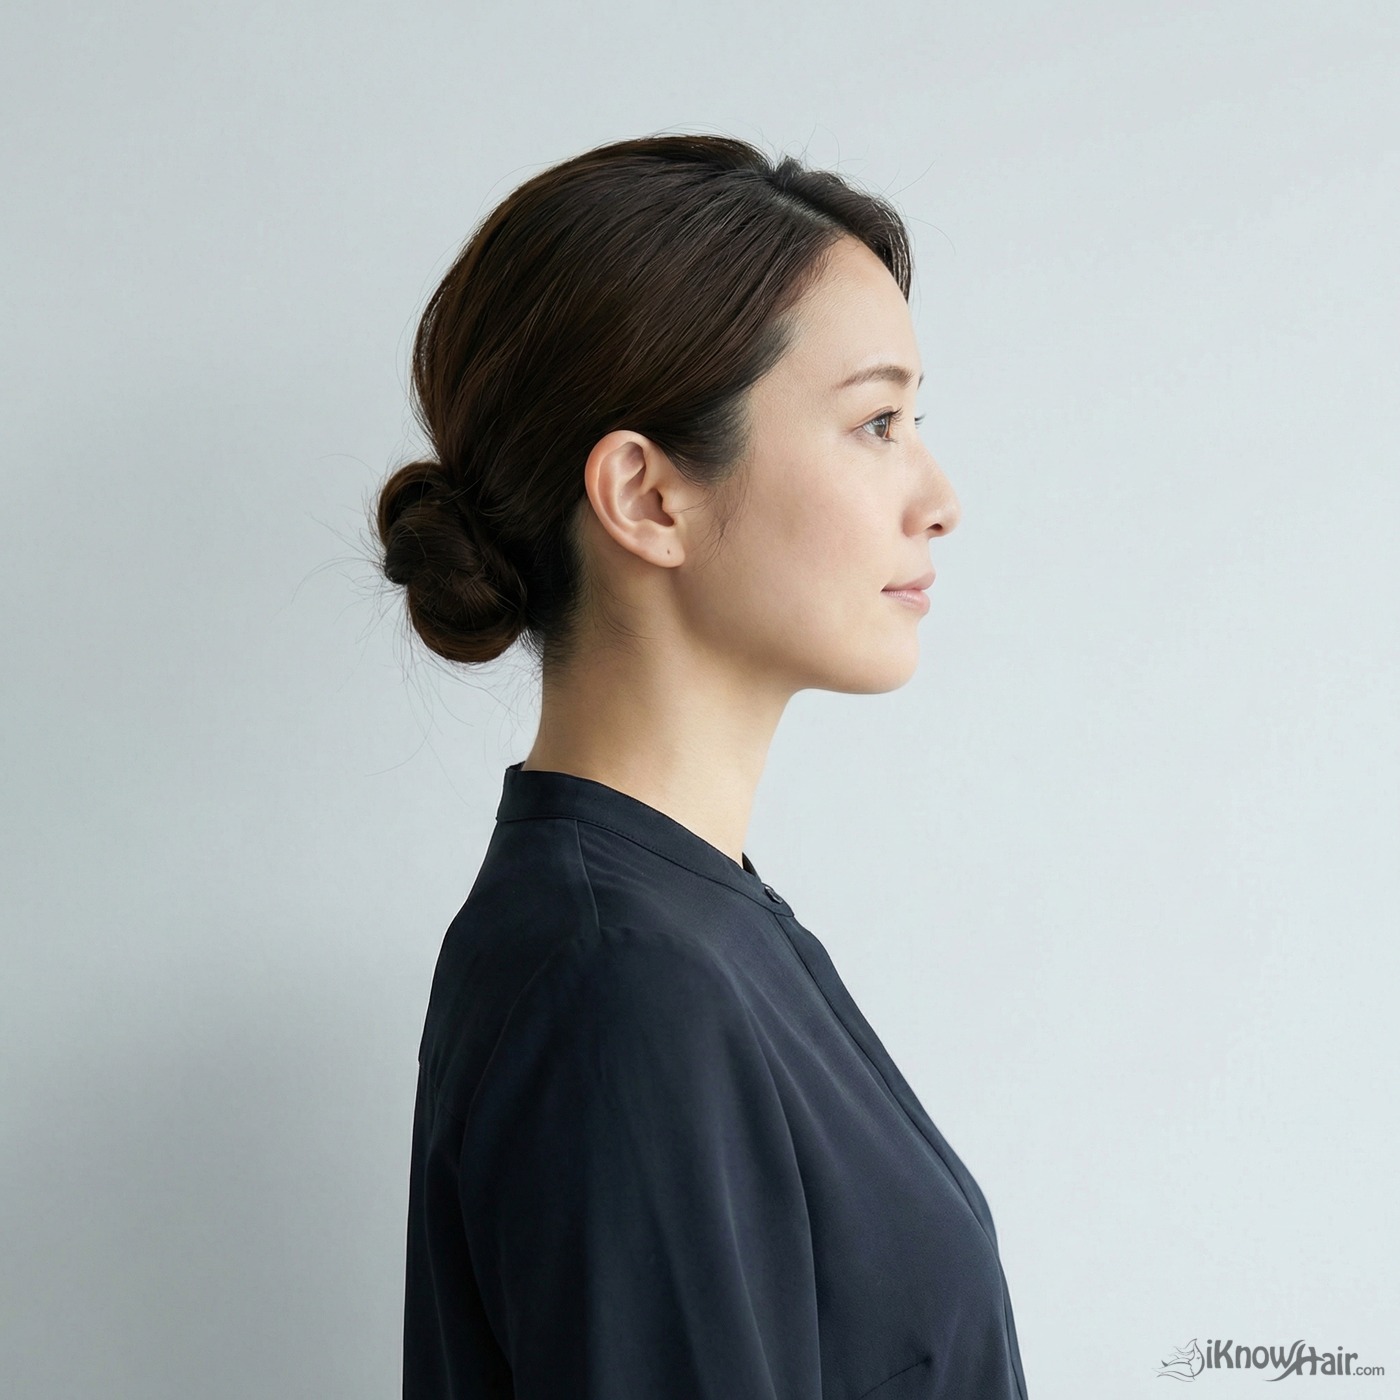
- Create a low ponytail at the nape
- Roll the hair upward and tuck
- Secure with spin pins at the sides
Pins needed: 2
5. Side Bun
- Sweep hair to one side
- Create a low ponytail behind one ear
- Twist and coil into a bun
- Secure with spin pins
Pins needed: 2-3
6. Braided Bun
- Create a braid (any type)
- Coil the braid into a bun
- Insert spin pins through the braid layers
Pins needed: 2-3
7. Figure-8 Bun
- Split ponytail into two sections
- Twist each section
- Loop them around each other in a figure-8 pattern
- Secure with spin pins
Pins needed: 2
8. Twisted Updo
- Divide hair into 3-4 sections
- Twist each section and pin at the back of head
- Tuck ends under and secure with spin pins
Pins needed: 4-5
9. Half-Up Bun
- Take the top section of hair
- Twist into a small bun
- Secure with one spin pin
Pins needed: 1
10. Double Buns
- Part hair down the middle
- Create two high ponytails
- Twist each into a bun
- Secure each with 1-2 spin pins
Pins needed: 2-4
Spin Pin Tips
- Insert at an angle — perpendicular insertion doesn’t grip as well
- Catch both the style and your base hair — this anchors the pin
- Use fewer than you think — 2-3 is usually enough
- Twist slowly — rushing causes the pin to miss hair
- Match to your hair color — they come in blonde, brown, and black
Spin Pins vs Bobby Pins
| Feature | Spin Pins | Bobby Pins |
|---|---|---|
| Quantity needed | 2-4 | 10-20+ |
| Hold strength | Very strong | Moderate |
| Learning curve | Slight | None |
| Visibility | Nearly invisible | Can show |
| Best for thick hair | Excellent | Challenging |
Final Thoughts
Spin pins are a game-changer for anyone who loves updos but hates the hassle of traditional pins. Once you get the twisting technique down, you’ll wonder how you ever lived without them.
For more updo inspiration, see our easy updo guide and French twist tutorial.
Editorial Note: Spin pins are available at most drugstores and beauty supply stores. Popular brands include Goody Spin Pins and Conair.